
If you’re tired of cloud-dependent smart home systems and want complete control over your home automation, Home Assistant on Linux is the answer you’ve been looking for. As someone running Home Assistant on a dedicated Linux machine, I can tell you that self-hosted home automation fundamentally changes how you think about smart home security and privacy.
Unlike proprietary smart home platforms that rely on external servers, Home Assistant gives you a local-first approach to home automation. Your data stays on your network. Your automations run without internet. Your privacy remains intact. This guide walks you through setting up Home Assistant on Linux from installation through advanced automations.
Why Choose Home Assistant on Linux Over Cloud-Based Alternatives
The smart home automation market is dominated by cloud platforms. Amazon Alexa, Google Home, and Apple’s HomeKit all funnel your data through their servers. For privacy-conscious users and tech enthusiasts, this is unacceptable. Home automation on Linux eliminates this middleman.
Here’s what self-hosted home automation gives you that cloud systems don’t:
- Complete Privacy: Zero data collection. Zero cloud uploads. Your smart home runs entirely on your local network.
- Reliability Without Internet: If your ISP goes down, your automations continue running. Home Assistant doesn’t need external connectivity to function.
- Full Customization: Configure every aspect of your automations. Write custom scripts. Integrate niche devices. No artificial limitations.
- Lower Long-Term Costs: No monthly subscriptions. No premium tiers to unlock basic features. One-time setup on hardware you already own.
- Open Source Security: The code is public. Security researchers audit it. You can review it yourself if needed.
These advantages make Home Assistant Linux the obvious choice for anyone building a serious home automation system in 2026.
System Requirements for Home Assistant on Linux
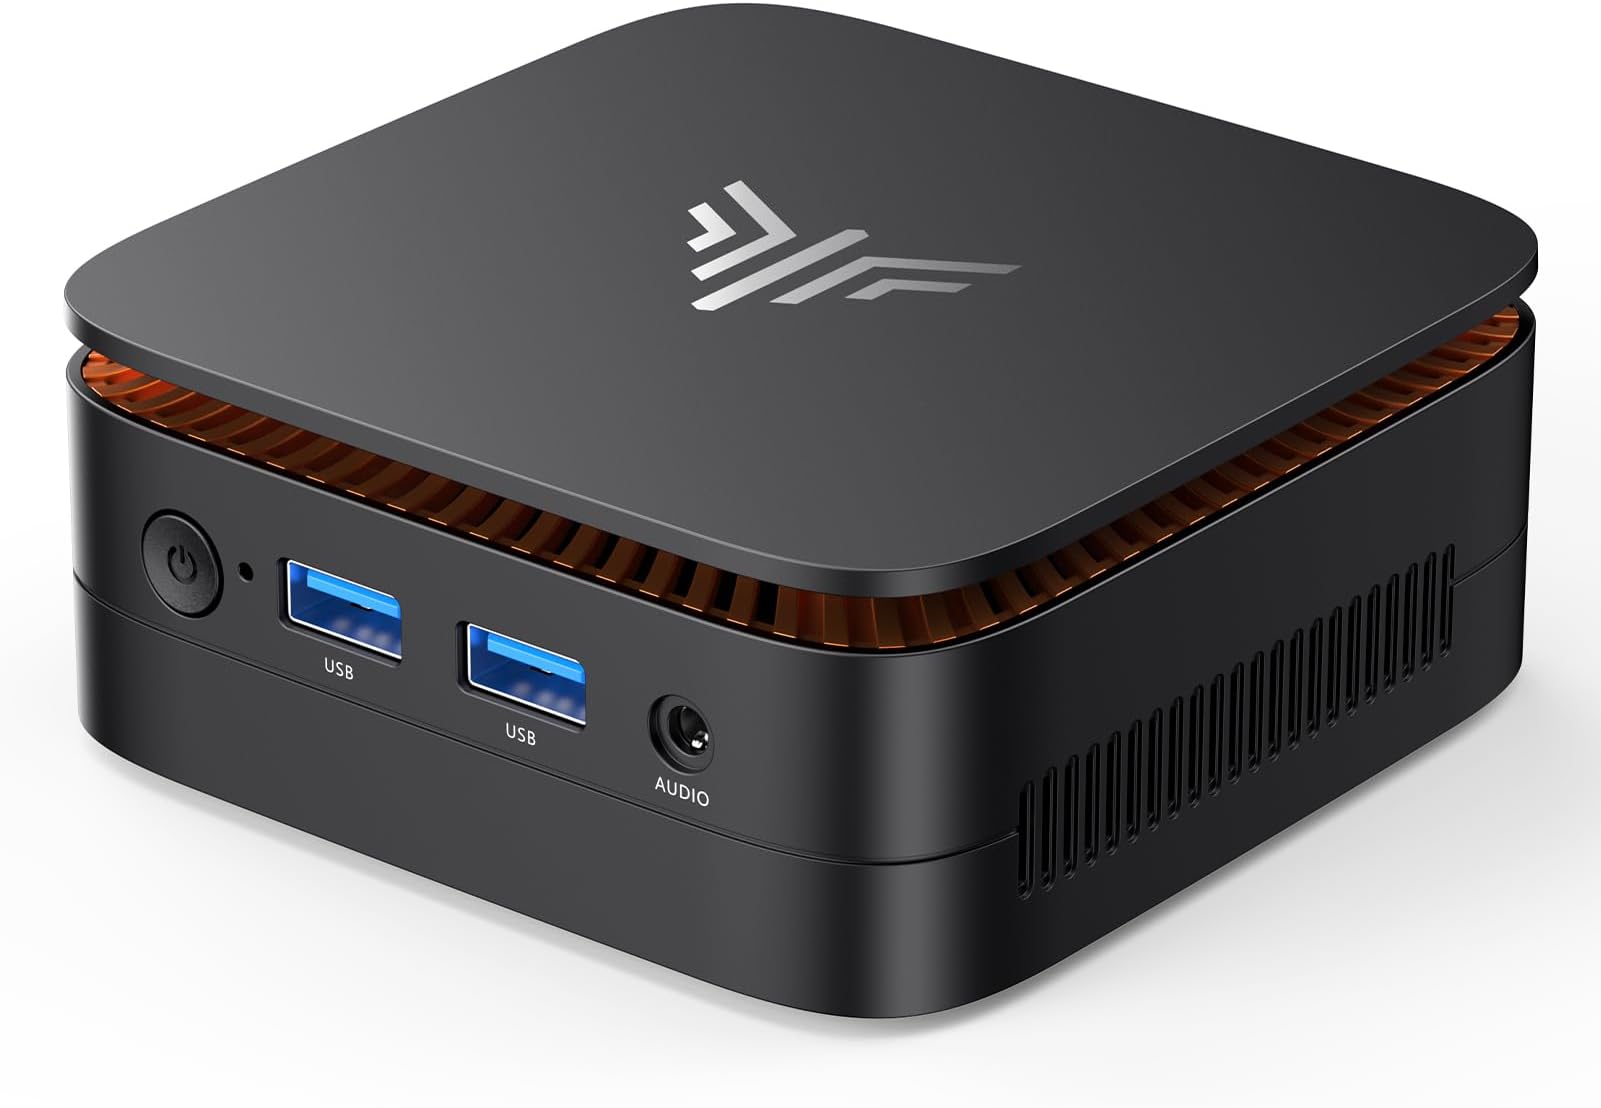
One of the best aspects of running Home Assistant on Linux is how lightweight it is. You don’t need expensive hardware. I run Home Assistant on a dedicated machine in my home lab, but you could use virtually any Linux device:
- Raspberry Pi (4GB RAM minimum, 8GB recommended)
- Old laptop or mini PC running Linux Mint
- Dedicated single-board computer like Intel NUC
- Virtual machine on existing Linux server
- Home Assistant Green

Minimum specifications:
- 2GB RAM (4GB+ recommended for 50+ devices)
- 10GB storage for OS and Home Assistant
- Reliable power supply (UPS recommended)
- Static IP address on your network
- Linux Mint, Ubuntu, Debian, or similar distribution
For my setup, I use a dedicated machine that stays on 24/7. This ensures all automations run reliably. If you’re running home automation Linux on a machine that powers down, automations won’t trigger while it’s off.
Installing Home Assistant on Linux: Step-by-Step
Method 1: Docker Installation (Recommended)
Installing Home Assistant on Linux via Docker is the most straightforward approach. Docker containers isolate Home Assistant from your system, making updates and troubleshooting easier.
Prerequisites:
First, install Docker on your Linux system. On Debian-based systems like Linux Mint:
sudo apt-get update
sudo apt-get install docker.io docker-compose -y
sudo usermod -aG docker $USER
Running Home Assistant:
docker run -d \
  --name homeassistant \
  --restart=unless-stopped \
  -v /home/username/homeassistant:/config \
  -v /etc/localtime:/etc/localtime:ro \
  --net=host \
  ghcr.io/home-assistant/home-assistant:stable
Replace username with your actual Linux username. This command:
- Creates a container named “homeassistant”
- Mounts your config directory (where automations and settings live)
- Enables network host access (needed for device discovery)
- Uses the latest stable Home Assistant image
Access Home Assistant by opening your browser and navigating to http://your-linux-ip:8123
Method 2: Python Installation
For a direct Home Assistant Linux installation without Docker, use Python’s virtual environment:
sudo apt-get install python3 python3-venv python3-pip
python3 -m venv homeassistant
source homeassistant/bin/activate
pip3 install homeassistant
Then start Home Assistant with:
hass --open-uiThis method gives you slightly better performance but requires more manual management. Docker is generally easier for long-term maintenance.
Initial Configuration and Device Integration
Once you access Home Assistant on Linux for the first time, you’ll see the onboarding screen. Create your admin account and set a secure password. This account controls all automation access.
Network Setup:
Home Assistant automatically discovers compatible smart devices on your network. For optimal discovery on home automation Linux systems, ensure:
- Your Home Assistant device is on the same network as smart devices
- mDNS is enabled (most routers have this by default)
- No network segmentation blocking device communication
Adding Devices:
Navigate to Settings → Devices & Services. Home Assistant will show discovered devices. Click “Configure” on any supported device. Popular integrations include:
- Philips Hue lighting
- LIFX bulbs
- Zigbee devices (via Zigbee2MQTT)
- Z-Wave devices (via Z-Wave JS)
- MQTT devices
- Local network devices via YAML configuration
Creating Your First Automations
The power of home automation Linux comes through automations. These are rules that trigger actions based on conditions. For example: “When sunset occurs AND no one is home, turn on outdoor lights.”
Simple Automation Example:
Through the UI, navigate to Automations and create:
- Trigger: Time is 7:00 AM
- Condition: It’s a weekday
- Action: Turn on bedroom lights to 50% brightness
This single automation replaces needing four separate cloud services. More complex automations on Home Assistant on Linux handle scenarios like:
- Presence detection (turn lights on when arriving home)
- Energy optimization (shift appliance use to low-cost hours)
- Security (trigger cameras and alerts on motion)
- Climate control (adjust temperature based on occupancy and time)
Advanced Configuration: YAML Automations
For power users, Home Assistant Linux supports advanced YAML-based configurations. While the UI handles basic automations, YAML gives you unlimited flexibility.
Sample YAML Automation:
automation:
  - alias: "Evening Lighting"
    trigger:
      platform: sun
      event: sunset
    condition:
      condition: state
      entity_id: group.family
      state: 'home'
    action:
      service: light.turn_on
      target:
        entity_id: light.living_room
      data:
        brightness_pct: 80
YAML automations live in your config directory. This approach lets experienced users build sophisticated home automation systems limited only by their imagination.
Integrating Zigbee and Z-Wave on Linux
True home automation on Linux often requires wireless protocol support. Most smart devices use Zigbee or Z-Wave, not WiFi.
Zigbee Support:
Install Zigbee2MQTT on your Linux system. This translates Zigbee signals to MQTT, which Home Assistant understands natively. You’ll need a Zigbee coordinator device (around $25-40). This unlocks thousands of budget-friendly Zigbee devices from various manufacturers.
Z-Wave Support:
Z-Wave JS integrates directly into Home Assistant. Add a Z-Wave controller (USB dongle or hat) and pair your devices through the UI. Z-Wave devices tend to be pricier but offer excellent reliability.
Both approaches work seamlessly with Home Assistant on Linux and dramatically expand your device compatibility.
Securing Your Home Assistant Linux Installation
Since you’re running self-hosted home automation, security is your responsibility. Follow these critical practices:
- Keep System Updated: Run
sudo apt-get upgrademonthly. Updates patch security vulnerabilities. - Strong Credentials: Use a strong admin password. Never reuse passwords.
- Network Isolation: Don’t expose Home Assistant to the internet without a VPN. Use local network only.
- Firewall Rules: Restrict access to port 8123 to trusted devices only.
- Regular Backups: Home Assistant snapshots store your entire configuration. Create monthly backups.
- Update Home Assistant: Check Settings → About for updates. Install them when available.
These steps ensure your home automation Linux system remains secure and only you control your smart home.
Troubleshooting Common Home Assistant on Linux Issues
Devices Won’t Discover:
Ensure your Linux device and smart devices are on the same network subnet. Check your router settings. Disable any guest network isolation that would separate devices.
Automations Not Triggering:
Verify Home Assistant is running with docker ps (if using Docker). Check automation logs in Settings → System → Logs. Often, conditions are preventing execution.
High CPU Usage:
Disable unnecessary integrations. Remove unused automations. Check for loops where automations trigger each other infinitely.
Extending Home Assistant with Add-ons
Home Assistant’s ecosystem includes hundreds of add-ons extending functionality. On Home Assistant Linux, popular add-ons include:
- Mosquitto: MQTT broker for wireless device communication
- Zigbee2MQTT: Zigbee to MQTT bridge
- ESPHome: Build custom smart devices from ESP microcontrollers
- AppDaemon: Python automation engine for complex logic
Install these through Settings → Add-ons. They extend home automation on Linux far beyond built-in capabilities.
Conclusion: Take Back Your Smart Home
Home Assistant on Linux represents a fundamental shift in smart home thinking. Instead of renting privacy and functionality from cloud platforms, you own your automation infrastructure.
The initial setup takes a few hours. The learning curve for basic automations is gentle. The long-term benefits—privacy, reliability, customization, and cost savings—are enormous.
Whether you’re running home automation Linux on a Raspberry Pi or a dedicated Linux Mint machine, you now have complete control over your smart home. No subscriptions. No data collection. No cloud dependency.
Start with simple automations—a basic lighting schedule, presence detection, or energy monitoring. As you grow comfortable with Home Assistant Linux, you’ll unlock increasingly sophisticated automations that actually solve real-world problems in your home.
Your smart home should work for you, not the other way around. Home Assistant makes that possible.
Ready to get started with Home Assistant on Linux? Begin with the Docker installation method for the smoothest experience. Create an account, add your first device, and build your first automation. Within a week, you’ll wonder why you ever relied on cloud-based smart home platforms.